How to rename Wi-Fi
In this guide we will not review all router models (especially as their interface is more or less similar), but will introduce a standard instruction for manufacturers TP-LINK, D-Link, Asus, ZyXEL, Tenda, Netis:
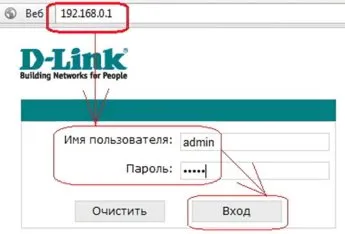
- First Go to the router settings. Enter the IP address (192.168.1.1 or whatever is written on the bottom of the device) into your browser. Log in (enter username ∕ password, by default admin ∕ admin, or again look them on the router).
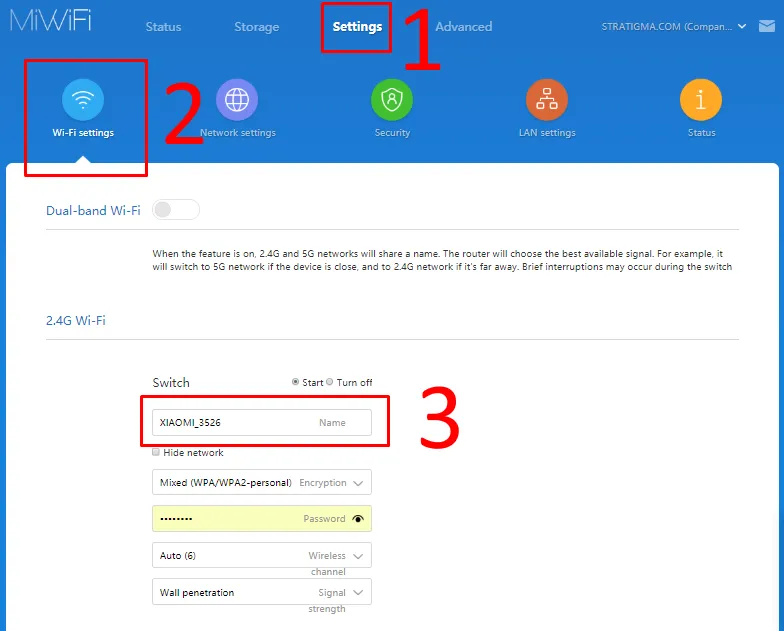
- We go to the tab Wireless (Wireless Connection) - Wireless Settings.
- With the line Wireless Network Name (or SSID in another way) write the new network name (in Latin!). Do not use punctuation, and the numbers can be used. Make sure you do not match to the neighbor networks (it also happens).
- Click Save (or Apply) and always reboot the device.

This tutorial is universal and applies to all models of routers and access points, only the menu items and other small things may be different, in general it is the same.
That's it! We hope that this article was informative and clear and you were able to rename Wi-Fi network on the router without any problems.


